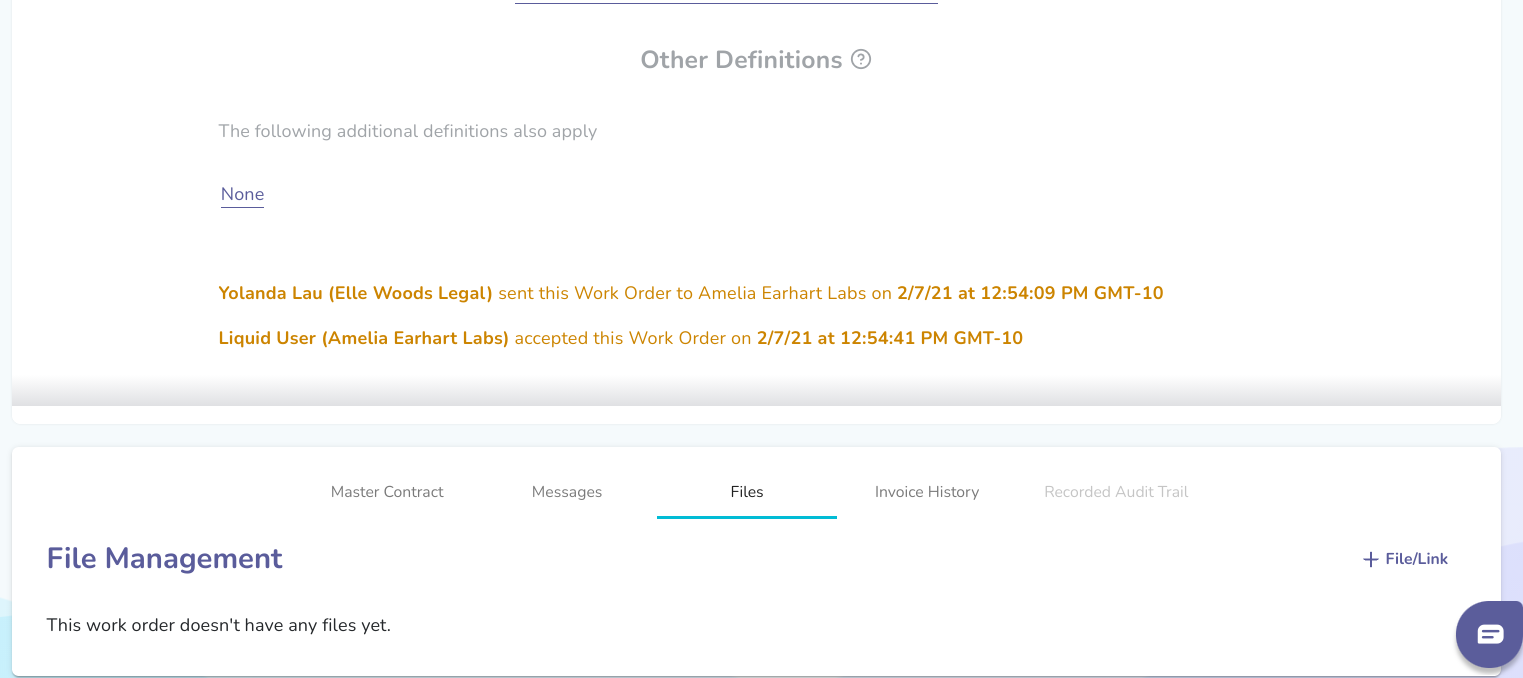
In the new Files tab at the bottom of each Work Order detail page, you will see all files and links added to the Work Order. Also, there is a + File/Link button in that tabbed section’s upper right corner. Press this button to pull up the dialog for adding files and links.
You’ll be prompted to choose File or Link.
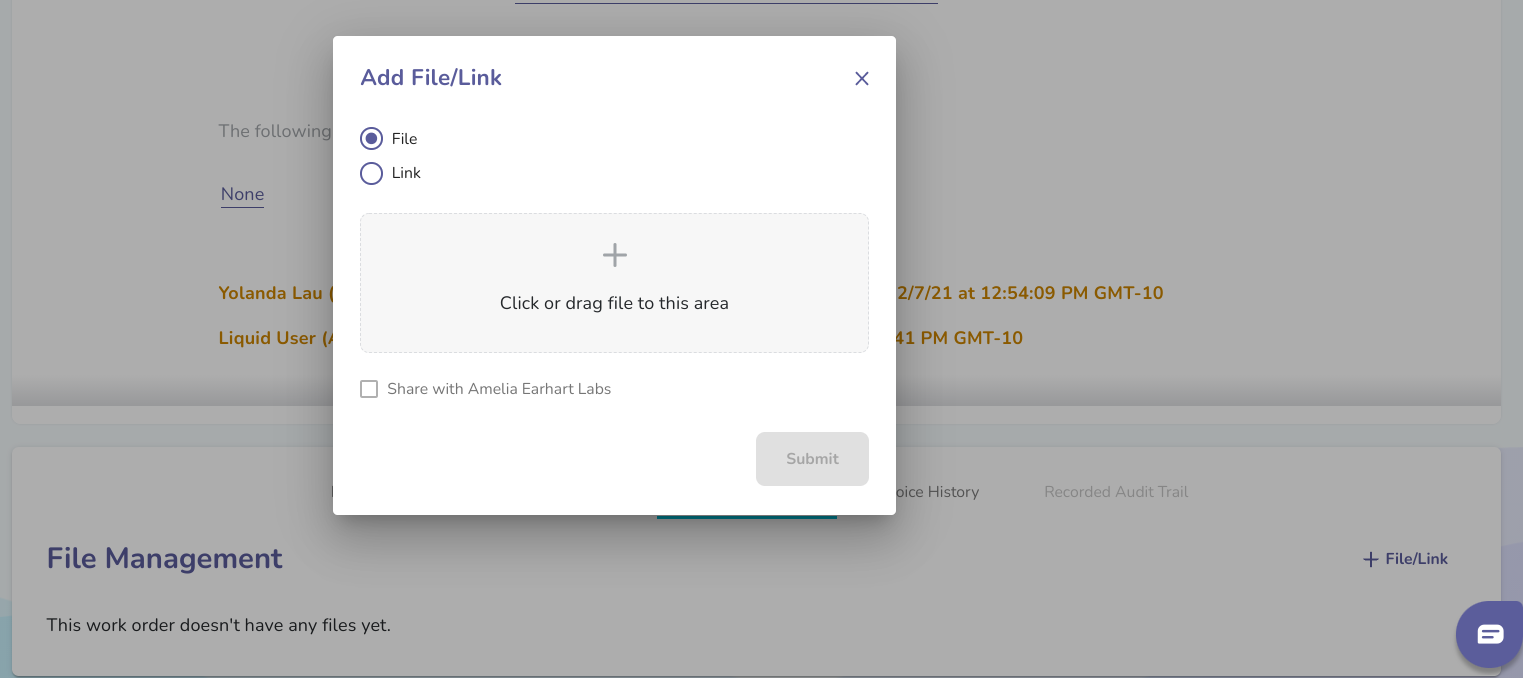
If you choose File, you can drag and drop a file into the grey box or press the grey box to select a File to upload.
If you choose Link, you’ll copy and paste the URL into the URL field. You will also be prompted to add a Description of the URL. Depending on what the URL is, you may want to share the name of the website or the purpose of sharing the URL (for example, website deliverable, or Figma drawings, etc.) Note that the URL must start with http:// or https:// to attach the URL.
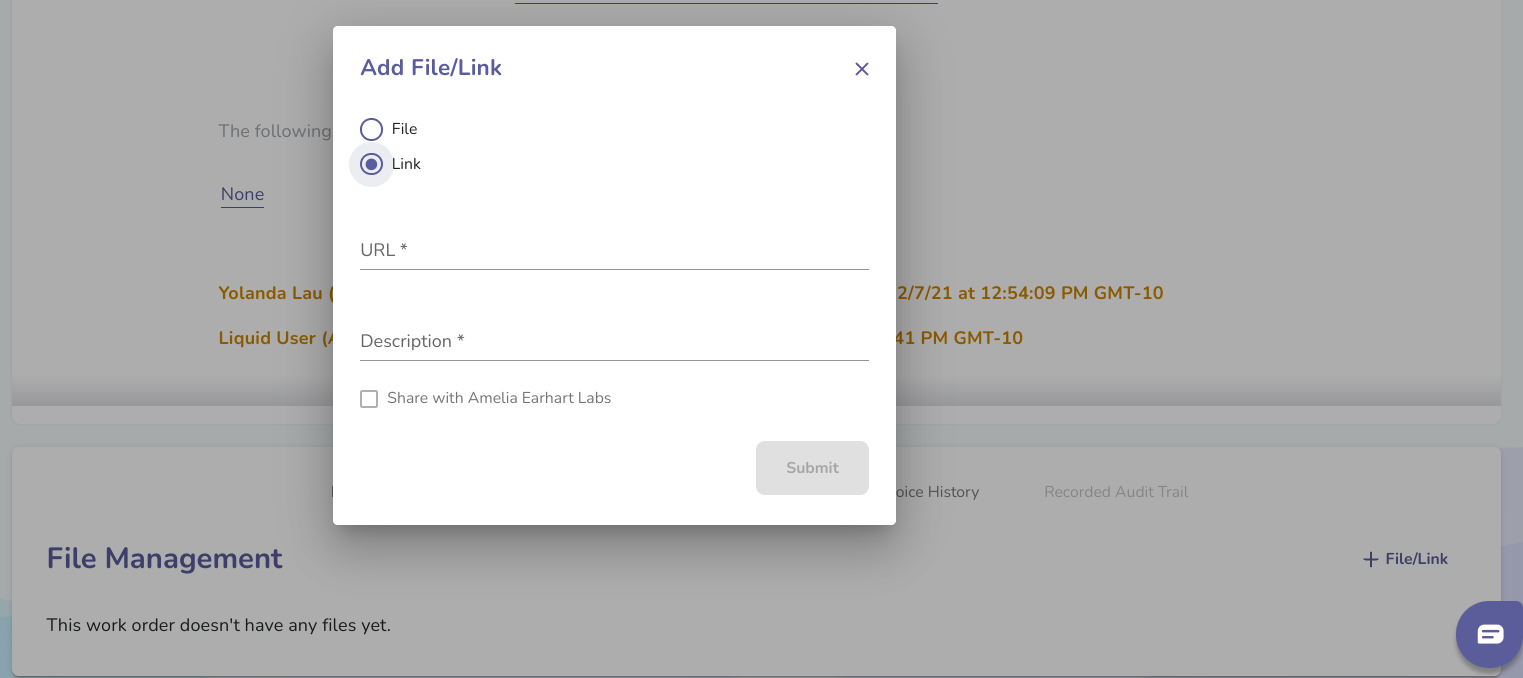
You’ll also decide whether not to check the box to share the File/Link with your Client. By default, the checkbox is not selected — so files/links are saved only to your side of the Work Order unless you select the checkbox. Note that once you choose to share a File or Link with your Client, then you will not be able to remove that File/Link from your Client's Work Order page in the future (you will only be able to remove it from your side).
Finally, you’ll press the Submit button to upload the File or attach the Link. If you have chosen to share the File/Link, you will be prompted to confirm that you would like the File/Link to be shared.
You can also promote internal files to shared files at a later time.