Invoices for Purchase Orders can be created by either the Vendor or the Client. To learn how to create an Invoice for a Purchase Order as a Vendor, review this other article. To learn how to create an Invoice for a Purchase Order as a Client, continue reading.
Upload an Invoice via a Purchase Order
Start by logging into Liquid. Make sure your overall payment terms are set appropriately in Payment Methods before continuing.
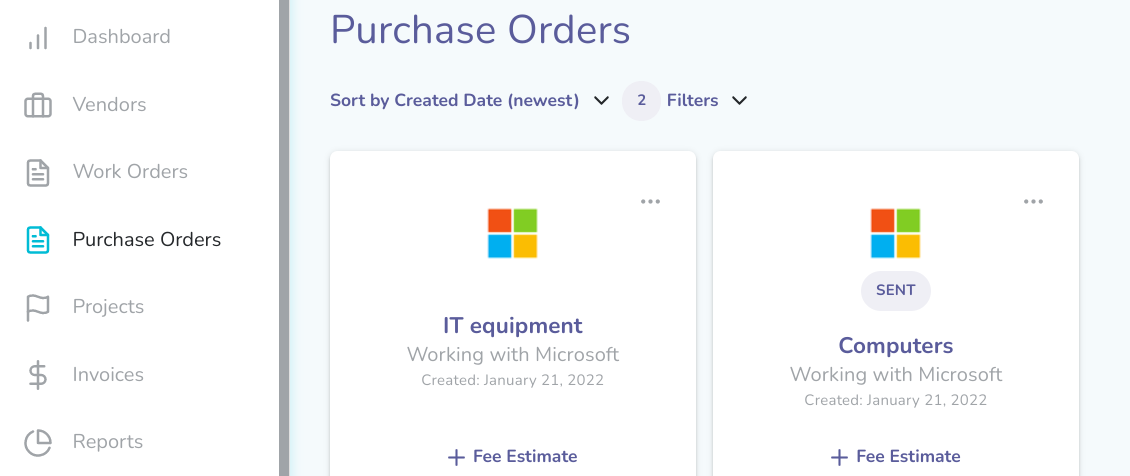
- Once you are logged in, go to Purchase Orders on the left side.
- Select your active Purchase Order.
- At the top of the Purchase Order, click on Here are actions you can take for this Purchase Order.
- Press the + Upload Invoice button.
- This will open a new page with the Vendor, Purchase Order name, and payment terms prepopulated.
- Upload the file (acceptable file types are PDF, DOC, DOCX, or image files with maximum size of 32MB). You must upload a file.
- Then, enter invoice details — Invoice number and Invoice total (total amount invoiced). An invoice number will be pre-populated, but you should adjust this manually to match the actual invoice number from the Vendor’s invoice.
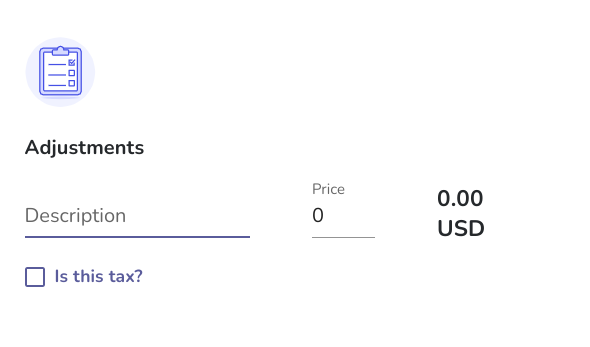
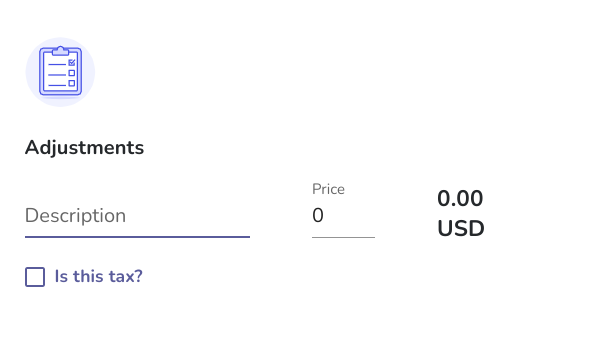
- If you have any adjustments to make, add a Description and Price for the adjustment. If it's tax, check the box Is this tax?
- Press Submit Invoice to complete the Invoice upload for this Purchase Order.
Once the Invoice has been uploaded, then you can pay the Invoice or schedule a future payment.
Upload a Purchase Order Invoice via Invoices Page
First, log in to Liquid. Make sure your overall payment terms are set appropriately in Payment Methods before continuing.
- Once you are logged in, navigate to the Invoices section in Liquid.
- Press the + Invoice button.
- You will be prompted to select a Vendor. If you don’t see your Vendor on the list, you may choose to upload their invoice and invite them.
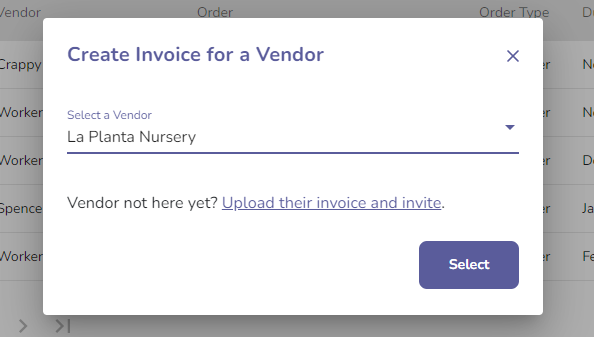
- Then you will be prompted to select Purchase Order or Work Order. Select Purchase Order.
- Then, select the Purchase Order that you'd like to create the Invoice for.
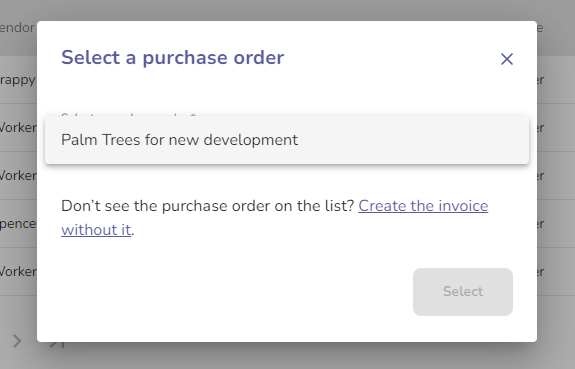
- If you don’t have an active Purchase Order with that Vendor, you will be prompted to Create Purchase Order. You will also be able to upload an invoice without a Purchase Order by clicking Create the invoice without it.
- Once you have selected an active Purchase Order, this will open a new page with the Vendor, Purchase Order name, and payment terms pre-populated and are not editable on the Upload Invoice page.
- Upload the file (acceptable file types are PDF, DOC, DOCX, or image files with a maximum size of 32MB). You must upload a file.
- Then, enter invoice details — Invoice number and Invoice total (total amount invoiced). An invoice number will be pre-populated, but you should adjust this manually to match the actual invoice number from the Vendor’s invoice.
- If you have any adjustments to make, add a Description and Price for the adjustment. If it's tax, check the box Is this tax? Note that if the invoice total does not match the Purchase Order, it will be considered a non-matching Invoice. Note that if Adjustments are added, if they are declared Tax they will not be counted against the original PO for matching purposes.
- Press Submit Invoice to complete the Invoice upload for this Purchase Order
