Liquid makes it easy to invoice your Clients who use Liquid as well as those who don't — and if your Client is in the US and chooses to pay your invoice via Liquid, you'll get paid in 1-5 business days.
You can create Invoices directly in Liquid or by uploading Invoices to Liquid.
Invoices must be created for Work Orders (services) or Purchase Orders (goods).
Send Invoices for Work Orders (services) to Clients not on Liquid
Start by logging in to Liquid.
- Once you are logged in, go to Invoices on the left side.
- Press the + Invoice button.
- Select "For a new client not yet on Liquid" to send an Invoice to a Client you are not working with on Liquid.
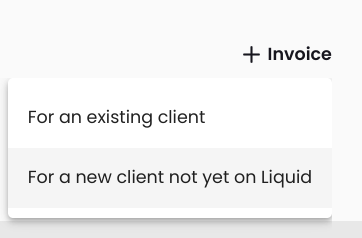
If you want to invoice an existing on Liquid, click here to read how to do that. -
You will be presented with a form to create and send your invoice.
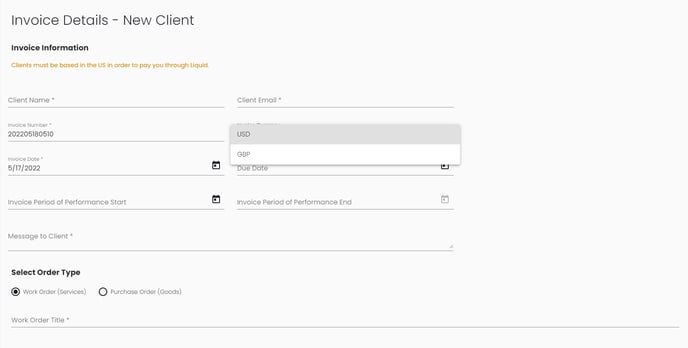
- Start by filling out your Client Name, Client Email address, and editing your Invoice Number (if desired). If you are located in a country where we support your local currency, you will be able to change your Invoice Currency from USD.
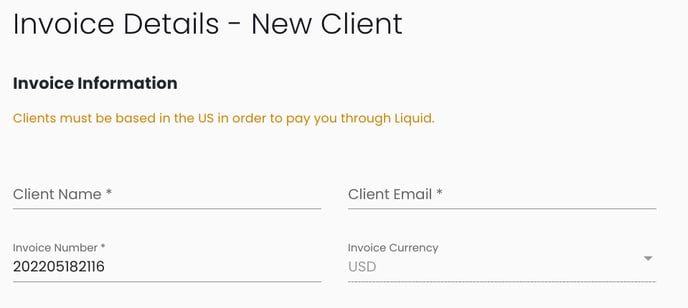
- Next, add a Message to Client, which will be included in the email sent to your Client by the Liquid platform. You can also add an Invoice Period of Performance Start date and an Invoice Period of Performance End Date. These fields are optional.

- In the next step, you'll select Work Order (Services) or Purchase Order (Goods). Select Work Order (Services) to continue creating an invoice for services. If you would like to create an invoice for goods, please click here to learn more.
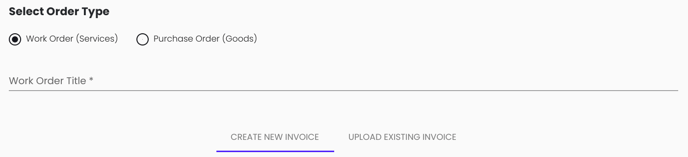
- Enter a Work Order Title.
- Next, decide whether you would like to Create New Invoice or Upload Existing Invoice.
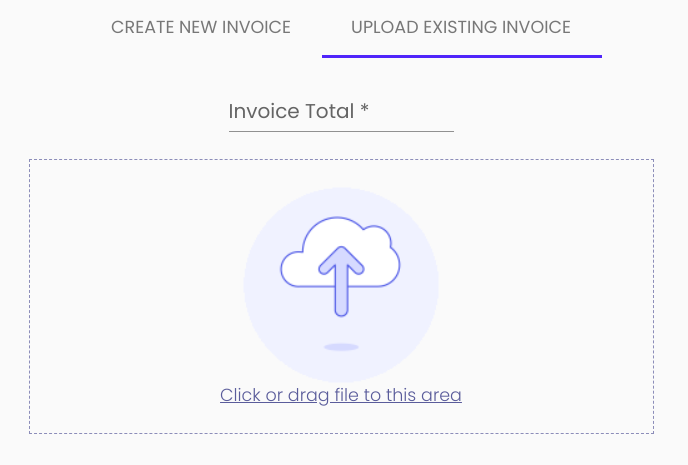
- If you choose Upload Existing Invoice, then you will add an invoice and enter an Invoice Total amount.
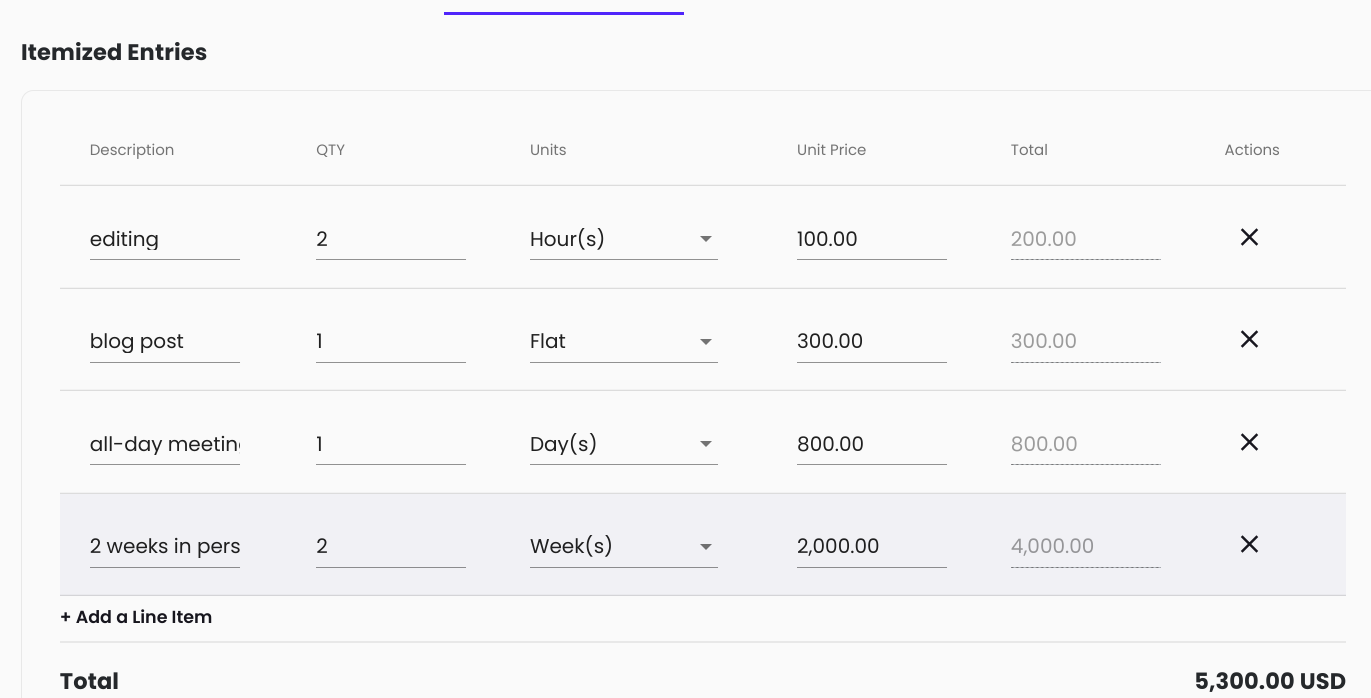
- If you choose Create New Invoice, you will press + Add a Line Item to add as many line items as you would like. For each line item, you will need to add a Description, QTY (quantity), Units (Hours, Days, Weeks, 1st and 15th, Months, Quarters, or Flat), and Unit Price. Each line item total will be automatically calculated and the invoice total will also be automatically calculated.
- If you choose Upload Existing Invoice, then you will add an invoice and enter an Invoice Total amount.
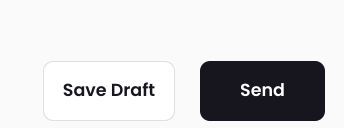
- Finally, press Send to send off the invoice to your Clients.
Send Invoices for Purchase Orders (goods) to Clients not on Liquid
Start by logging in to Liquid.
- Once you are logged in, go to Invoices on the left side.
- Press the + Invoice button.
- Select "For a new client not yet on Liquid" to send an Invoice to a Client you are not working with on Liquid.
If you want to invoice an existing on Liquid, click here to read how to do that. -
You will be presented with a form to create and send your invoice.
- Start by filling out your Client Name, Client Email address, and editing your Invoice Number (if desired). If you are located in a country where we support your local currency, you will be able to change your Invoice Currency from USD.
- Next, add a Message to Client, which will be included in the email sent to your Client by the Liquid platform. You can also add an Invoice Period of Performance Start date and an Invoice Period of Performance End Date. These fields are optional.
- In the next step, you'll select Work Order (Services) or Purchase Order (Goods). Select Work Order (Services) to continue creating an invoice for services. If you would like to create an invoice for services, please click here to learn more.
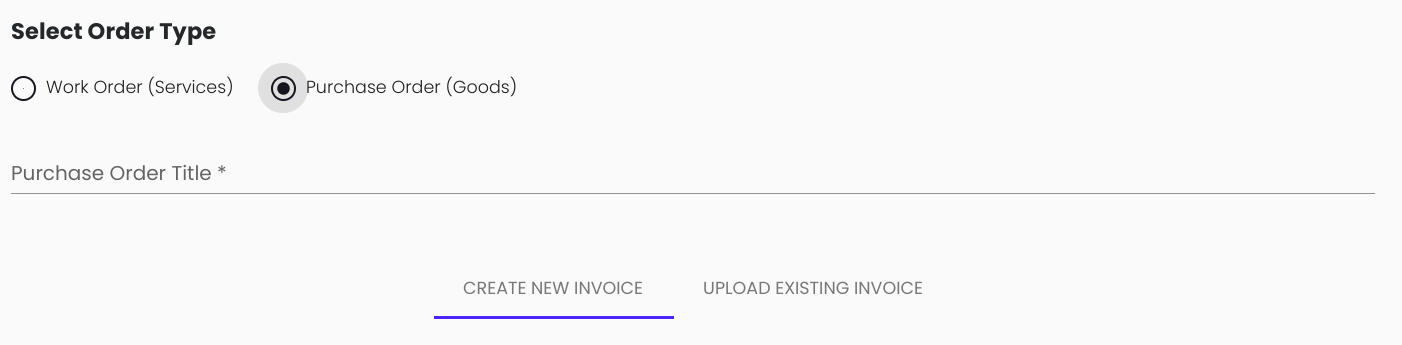
- Enter a Purchase Order Title.
- Next, decide whether you would like to Create New Invoice or Upload Existing Invoice.
- If you choose Upload Existing Invoice, then you will add an invoice and enter an Invoice Total amount.
- If you choose Create New Invoice, you will press + Add a Line Item to add as many line items as you would like. For each line item, you will need to add a Description, QTY (quantity), Units (Flat), and Unit Price. Each line item total will be automatically calculated and the invoice total will also be automatically calculated.
- If you choose Upload Existing Invoice, then you will add an invoice and enter an Invoice Total amount.
- If you have any adjustments to make, add a Description and Price for the adjustment. If it's tax, check the box Is this tax?

- Finally, press Send to send off the invoice to your Clients.