We’ll walk you through how Liquid helps you create Purchase Orders to send to your Clients.
The steps are to:
- Create a Purchase Order
- Define Items for your Purchase Order
- Choose to get Billing Reminders
- Send your Purchase Order
Create a Purchase Order
Before you can create a Purchase Order, you must be fully onboarded to a Client in Liquid. Once you have been onboarded onto a Client in Liquid, select the Purchase Orders section from the left menu options to begin setting up a new Purchase Order (PO):
- Click the + Purchase Order button on the upper-right side.
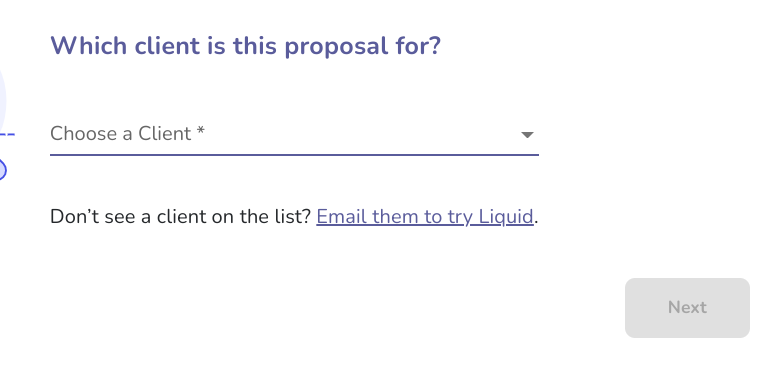
- You’ll first need to select which Client the Purchase Order is for. If you don’t see the Client you need, you can click the link below to invite them to set up a Liquid account right from this screen.
-
- Next, you’ll need to name the Purchase Order. The name should be short and descriptive, like “Computers.”
Define Items for your Purchase Order
Within one Purchase Order, you can create multiple items. For each item, you'll add a title, quantity, and price per item.
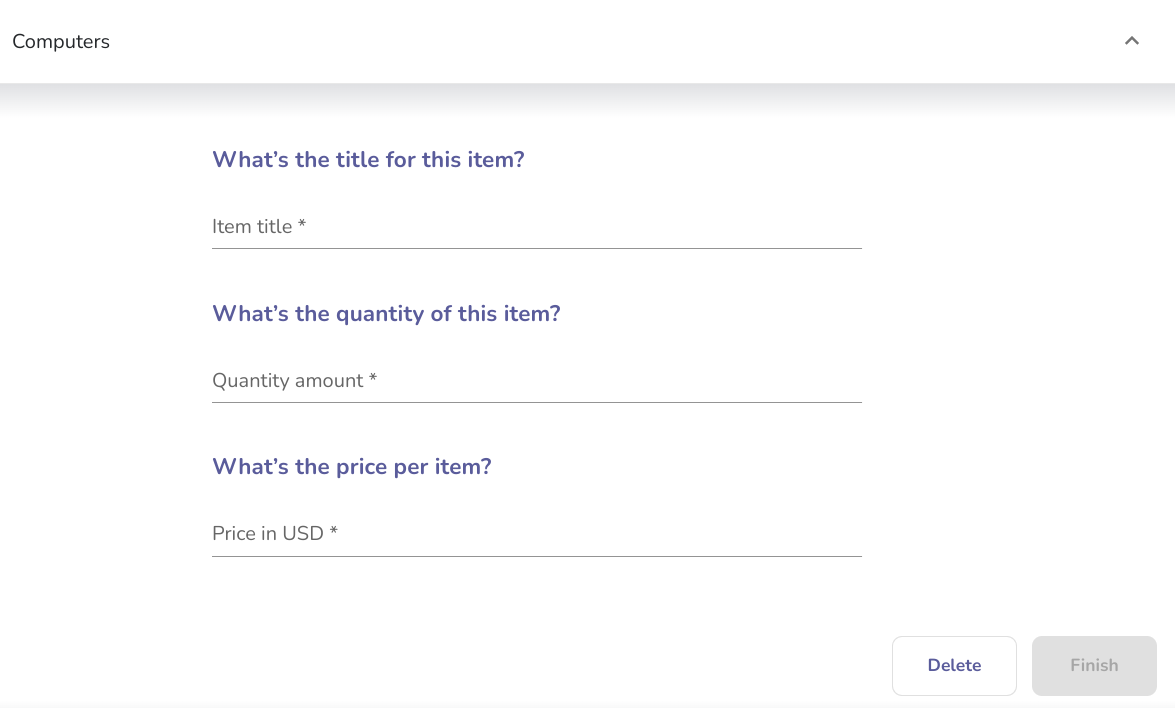
Make sure to press Finish after adding the first item.
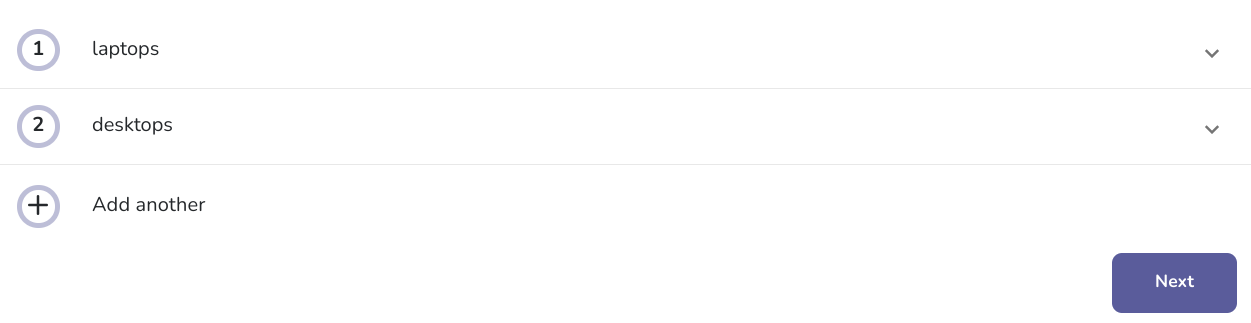
If you'd like to add another item to the same Purchase Order, you can press Add another. Repeat until all items have been added.
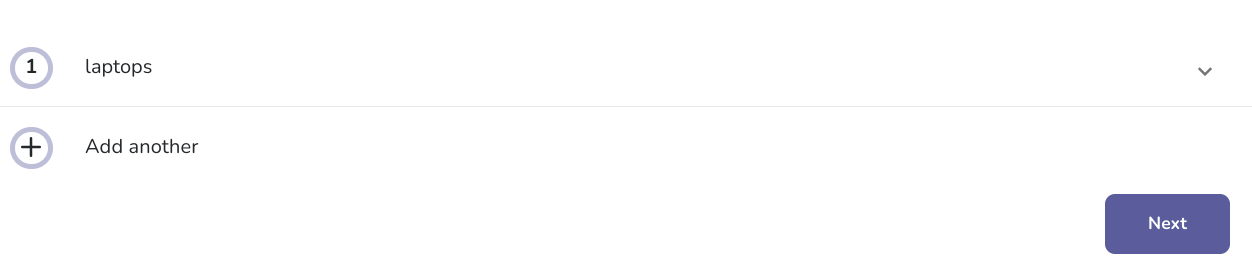
Once you are done adding items, press Next.
Choose to get Billing Reminders
In the final step before sending your Purchase Order, you can choose to have draft invoices created for you and billing reminders sent to you via email.
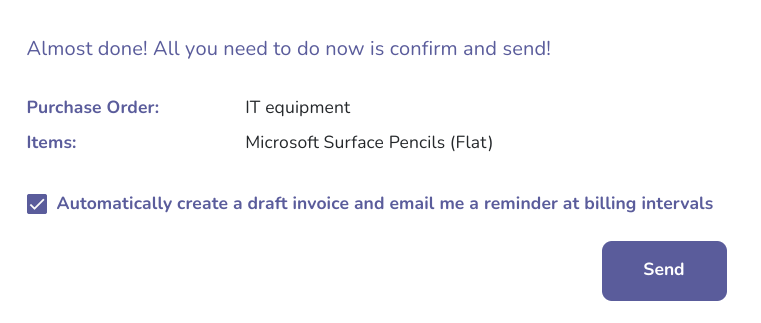
Send your Purchase Order
All that’s left to do now is to send your Purchase Order. Press Send to deliver your Purchase Order. From there, your Client can choose to accept certain items individually.
Once your Client accepts the Purchase Order, either the Client or the Vendor can create the Invoice for this Purchase Order.