To sign your contracts in Liquid, you will first need to create your Vendor account in Liquid.
To sign your contracts, you must complete your Client's onboarding processes. When you complete your Client's onboarding processes, you will complete your Client's contracts and fill out the US tax forms your Client is required to collect from you.
Here's how to sign your contracts in Liquid.
Starting your Client’s onboarding process in Liquid
Once you have finished creating your Vendor account in Liquid, the next step is to complete your Client’s onboarding process. This should pop up immediately upon creating your account, if you clicked the Accept Invite button in your email.
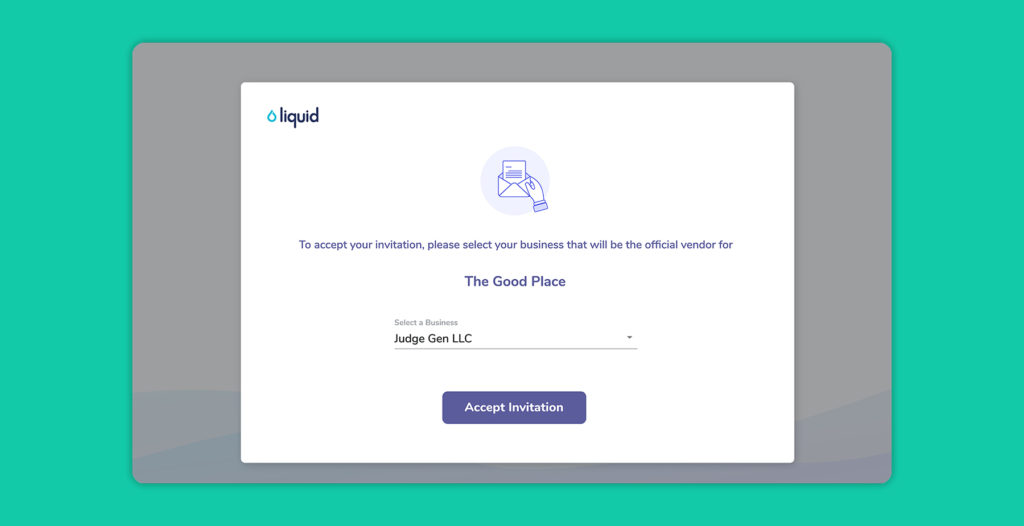
If you don’t see it pop up, go back to your email, find the email from Liquid that notified you that you’ve been invited to work with your Client on Liquid, and click the Accept Invite button. This will open in your browser the official invitation from your Client. Press the Accept Invitation button to get started. Then, you will be prompted to confirm which business will be the official vendor for your Client. Make sure your business is selected, and then press the Accept Invitation button.
Next steps on Liquid
Once you have set up your account and completed your Client’s onboarding process, you will see your Client listed under the Clients section. If you have started but not completed your Client’s onboarding process (or if they have sent you additional documents or forms to complete), then you will see a badge that says IN PROCESS. Click the badge to finish onboarding.
Once onboarding has been completed, you will be able to send your Client a project proposal. If your bank account has been verified, then you will be able to send them an invoice.