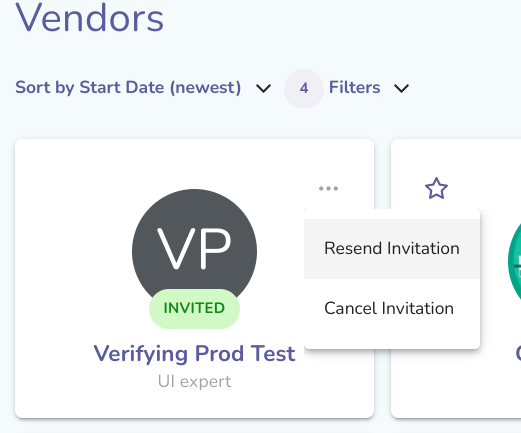
In table view, you will also see three dots at the end of each column. In grid view, these three dots are located on the upper right corner of each Vendor card. When you press these three dots, you will be presented with a menu of actions you can take for each Vendor. For invited Vendors who have not started the onboarding process, the options are Resend Invitation and Cancel Invitation. These Vendors have a status of INVITED, which is listed on a green chip on both the Vendor card in grid view and the Vendor row in table view.
The options for Invited Vendors who have not started the onboarding process (status INVITED) are Resend Invitation and Cancel Invitation.
For invited Vendors who have started the onboarding process (status IN PROCESS), the options are Send Message, Cancel Invitation, Add Tag, Edit Description, and Hide from Team. These Vendors have a status of IN PROCESS, which is listed on a yellow chip on both the Vendor card in grid view and the Vendor row in table view.
For onboarded Vendors, the options are Start New Work Order, Send Message, Work Order List, Add Tag, Edit Description, and Hide From Team.
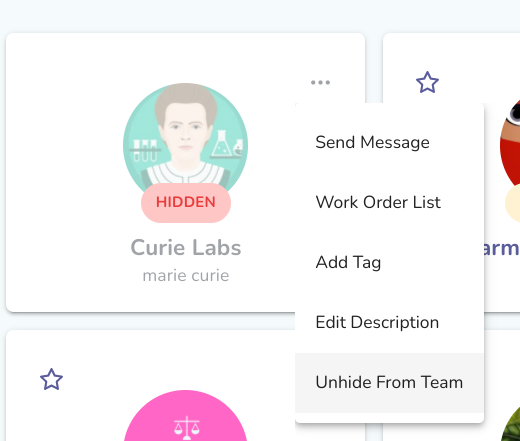
For hidden Vendors, Send Message, Work Order List, Add Tag, Edit Description, and Unhide From Team.
Here’s what each of those options does:
Cancel Invitation
Selecting Cancel Invitation cancels the invitation for that specific INVITED Vendor. This option is only available for INVITED Vendors and IN PROCESS Vendors. Once a Vendor has completed the onboarding process, this option is no longer available. You may want to cancel an invitation if you have decided not to work with a Vendor anymore or if the contract or offer is no longer valid because they’ve taken too long to start the onboarding process. In addition, you may want to cancel an invitation if you realize you need to send them a different onboarding process.
Resend Invitation
Selecting Resend Invitation resends the invitation for that specific INVITED Vendor. The Vendor will get another email to accept your invitation. This option is only available for INVITED Vendors. Once a Vendor has started the onboarding process, this option is no longer available.
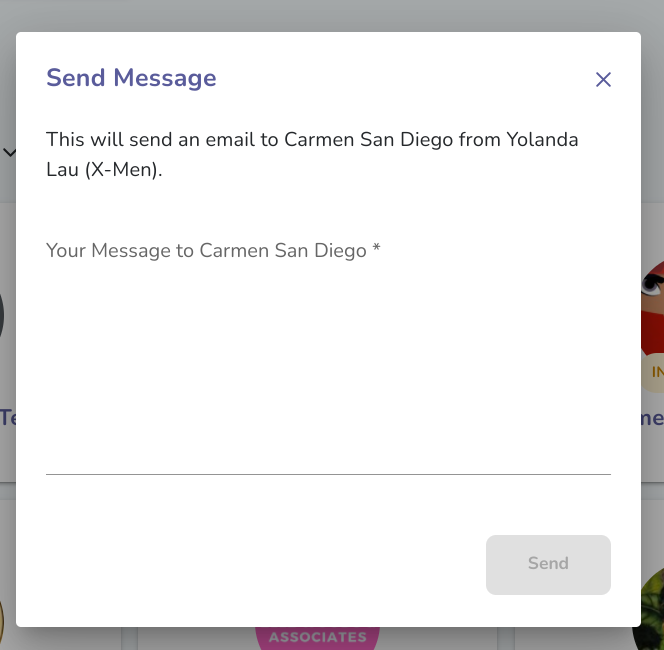
Send Message
Selecting Send Message allows you to send a message to that Vendor via Liquid. This option is not available for INVITED Vendors. Vendors must have either started or completed onboarding for you to send a message to them with this feature.
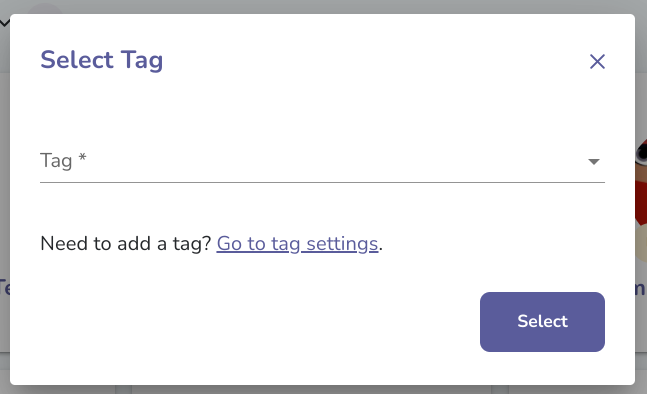
Add Tag
Selecting Add Tag allows you to tag the Vendor with a Tag that you've added in the Tags section of Settings. Using Tags can help you organize your Vendors.
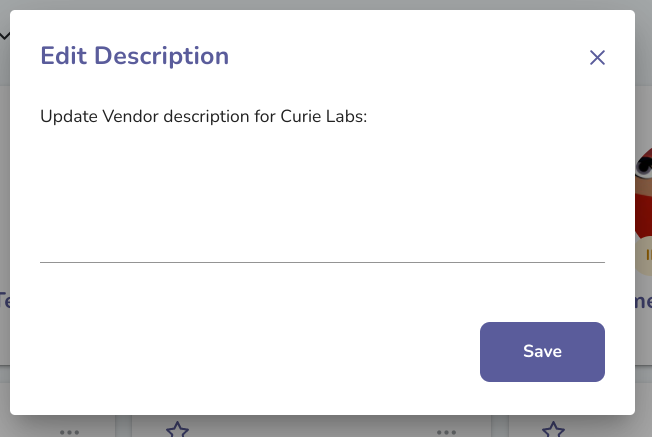
Edit Description
Selecting Edit Description will allow you to edit the description for that Vendor. This description is only shown to you and your team. This option is not available for INVITED Vendors. Vendors must have either started or completed onboarding for you to edit their description.
Start New Work Order
Selecting Start New Work Order will bring up the pop-up to create and send a new Work Order for that specific Vendor. This option is only available for Vendors who have completed onboarding.
Work Order List
Selecting the Work Order List will send you to the Work Orders section of Liquid and display a list of all Work Orders attached to that specific Vendor. This option is only available for Vendors who have completed onboarding.
Hide From Team
Selecting Hide From Team will hide that Vendor from your list of Vendors. By default, the Filters shown in the Vendors section hide Hidden vendors from your list. However, you can view them by selecting the checkbox for Hidden in the Filters options. This option is not available for INVITED Vendors or IN PROCESS Vendors.
Unhide From Team
Selecting Unhide From Team will unhide that Vendor from your list of Vendors. This option is available only for Vendors who have been hidden. By default, the Filters shown in the Vendors section hide Hidden vendors from your list. However, you can view them by selecting the checkbox for Hidden in the Filters options.